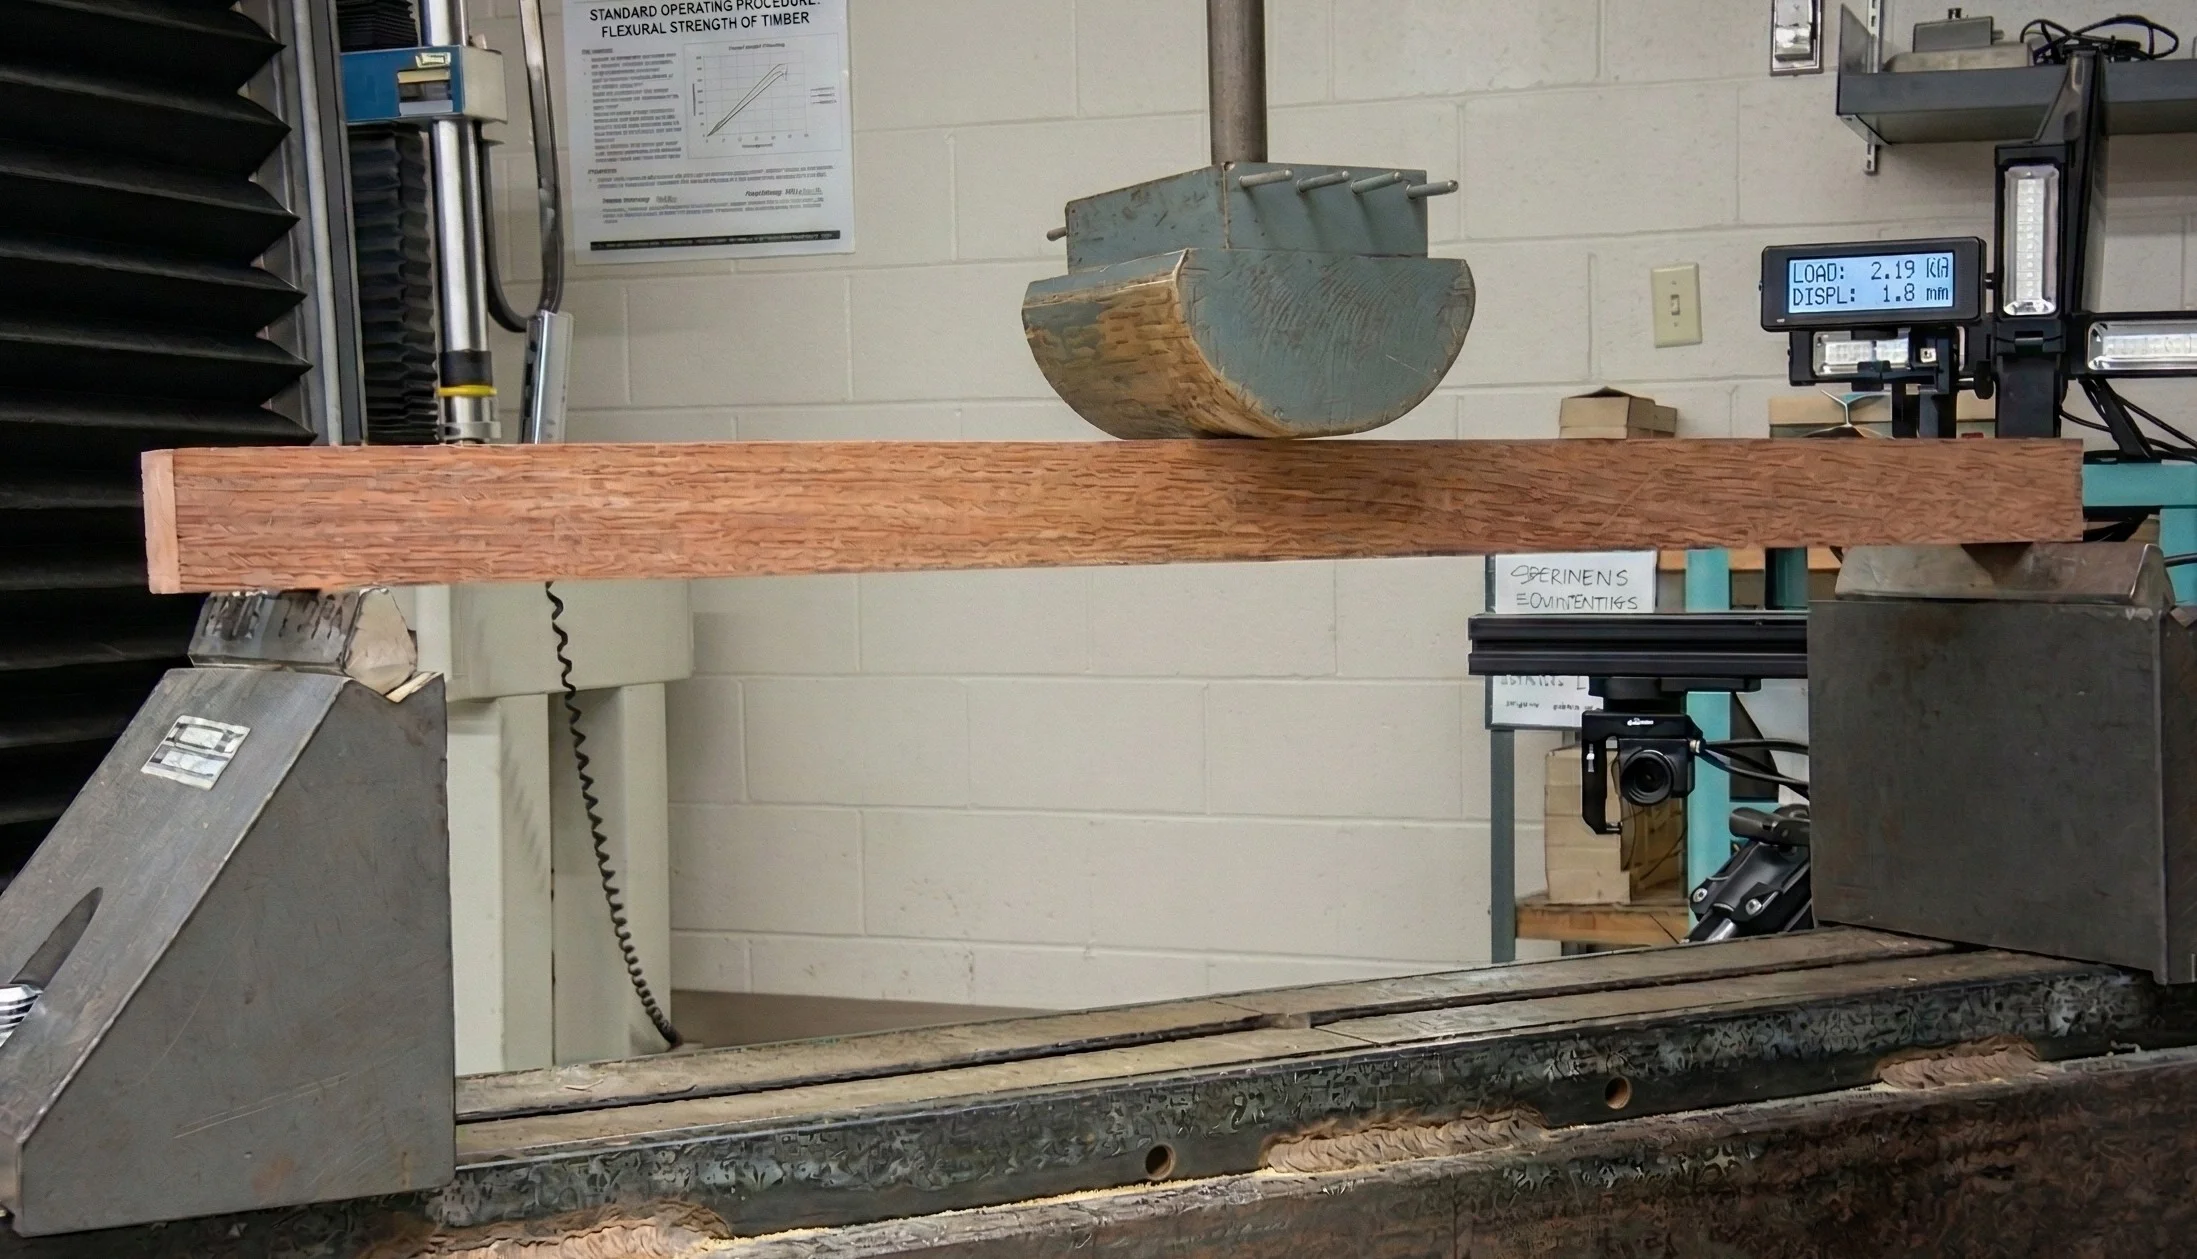
Mechanical Properties of Tropical Hardwoods
Mechanical testing on Ipe, Batu, Torem, and Bangkirai including modulus of rupture and elasticity, janka hardness and density
Micah Sutfin · March 2, 2026
Steve Getsiv · December 11, 2023
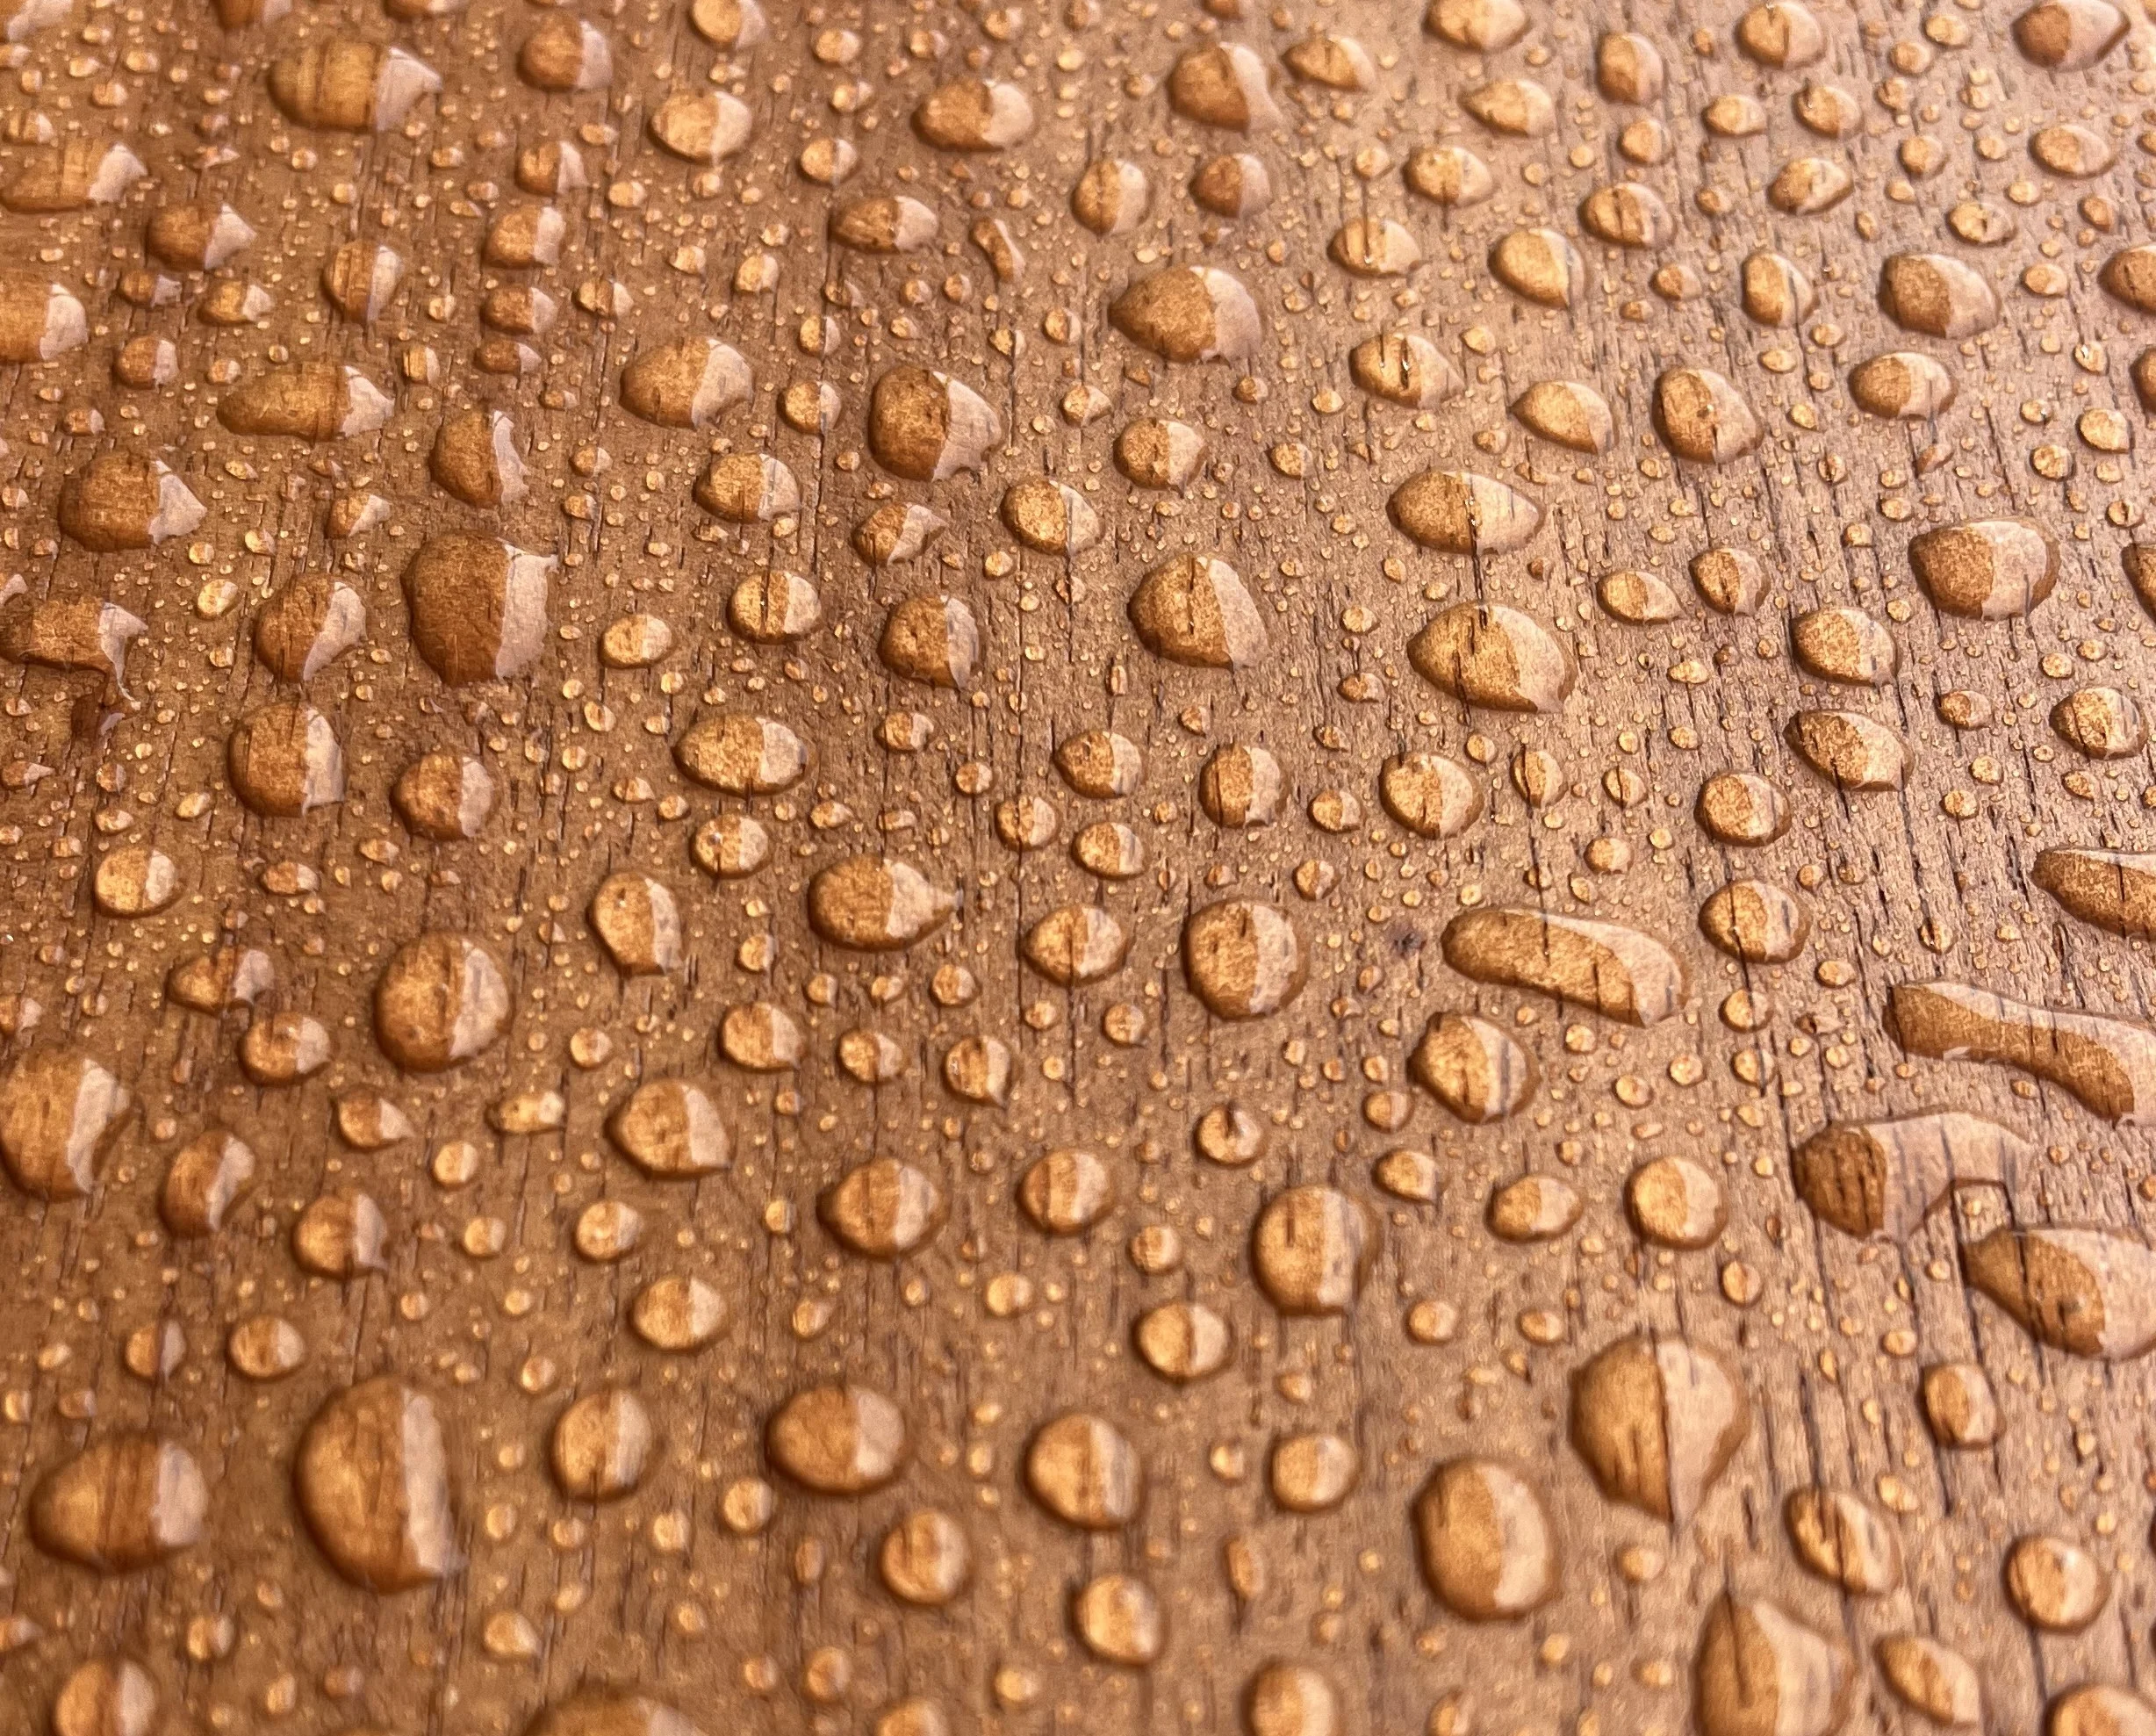
In the realm of architectural design and building longevity, rainscreen cladding systems have emerged as a fundamental component, especially in modern construction practices. Understanding what rainscreen cladding entails, how it functions, and the various pros and cons associated with it, is essential for homeowners and builders seeking to make informed decisions about their property.

Rainscreen cladding is a protective layer that is affixed to the exterior surface of a building structure, and is designed to shield the building from the effects of weathering and moisture. It's composed of an outer weather-resistant decorative skin, a ventilation cavity, and an inner layer. It deflects the majority of water away, while the ventilation cavity allows any residual moisture to evaporate or drain away, to enhance the building's weatherproofing and insulation properties.
Rainscreen cladding originated in the Scandinavian countries hundreds of years ago, but it was during the 1940s that science developed a better understanding of its operation. The idea was straightforward: a double-wall construction with an outer layer to block rain and an inner layer to insulate, save energy, and maintain building integrity.
Over time, this system evolved and improved with integrated advancements in material technology and design practices. The evolution of rainscreen cladding has been driven by the need for more energy-efficient, environmentally friendly, and aesthetically pleasing solutions in the building industry.
Today, rainscreen cladding systems are widely recognized for their ability to protect buildings from adverse weather conditions, enhance architectural appeal, and improve indoor comfort.
Rainscreen cladding operates on a simple, but effective principle of pressure equalization. When the external pressure from wind-driven rain and the pressure in the cavity behind the cladding are equal, there is no force to drive the rain through joints in the cladding. As winds blow against a building, they create high pressure on the surface. However, the air cavity behind the rainscreen cladding allows a pressure-equalized environment that can help mitigate the force that drives the rain into the building.
The rainscreen cladding system is made up of three essential components: the cladding, the ventilation cavity, and the inner layer.

The air gap acts as a pressure-equalizing layer that prevents water from being driven into the building. The exterior layer or 'cladding' navigates rainwater away, while the air gap facilitates the drying process, to curb the chances of water infiltration that could lead to structural damage. NOVA's comprehensive guide on rainscreen siding provides further in-depth understanding of this innovative system.
The performance of this system depends significantly on the cladding's ability to resist rainwater and the air cavity's effectiveness in draining away the water to facilitate drying. The selection of materials and proper installation are critical to the system's effectiveness, and to ensure the longevity and durability of the building structure.
Opting for rainscreen cladding comes with a multitude of benefits:
However, several considerations may pose challenges:
Before you commence the installation of a rainscreen cladding system, here are some pre-installation considerations to keep in mind:
Review the Plans and Specifications: Thoroughly inspect the plans, specifications, and associated documents to understand the project's scope and requirements. Ensure that all details comply with the local building codes.
Inspect the Materials: Confirm that all materials delivered are in accordance with the order and free from any defects. The materials should comply with the specifications outlined in NOVA's ExoClad® QuickClip® Rainscreen Siding System document.
Check the Building's Condition: Examine the building's framework. The structure should be solid, with no signs of damage or decay. Ensure the walls are clean and free from moisture.
Review the Installation Instructions: Familiarize yourself with the instructions and installation steps.
Prepare the Tools and Equipment: Gather and organize the necessary tools and safety equipment. This may include ladders, drills, screws, clips, and protective eyewear and gloves.
Weather Considerations: Avoid installation in adverse weather conditions. High winds, rain, or snow can hinder the installation process and impact the system's effectiveness.
Remember, proper planning and preparation is the key to a successful installation.
Follow these step-by-step instructions to properly install your rainscreen cladding system:
For a more detailed guide, please refer to the installation instructions provided by NOVA in the ExoClad® QuickClip Rainscreen Siding System Installation Guide.

The Nova ExoClad® QuickClips® are specifically designed to provide unparalleled support for the installation of rainscreen cladding systems:

This unique feature of the QuickClips® enhances the overall efficiency of the rainscreen cladding system.
For projects requiring natural wood aesthetics with enhanced durability, thermally modified wood offers an excellent solution. The thermal modification process uses only heat and steam—no chemicals—to improve dimensional stability and decay resistance. Nova's Ambara® thermally modified hardwood delivers a clear, knot-free appearance comparable to premium Western Red Cedar, while Inari® Nordic Spruce provides exceptional value with a 25-year warranty.
At Nova USA Wood, we pride ourselves on our unmatched expertise and unwavering commitment to delivering exceptional quality. Our goal is to provide you with comprehensive guidance and premium materials for all of your siding needs, ensuring that your investment is not only secure but also timeless.
Contact us today and discover how our rainscreen cladding can enhance both the resilience and aesthetic appeal of your building.
Mechanical testing on Ipe, Batu, Torem, and Bangkirai including modulus of rupture and elasticity, janka hardness and density
Micah Sutfin · March 2, 2026
This articles discusses moisture management in trailer floors and how to protect them from failure. NovaSeal is Nova's new water-based industrial floor sealer.
Micah Sutfin · October 24, 2025
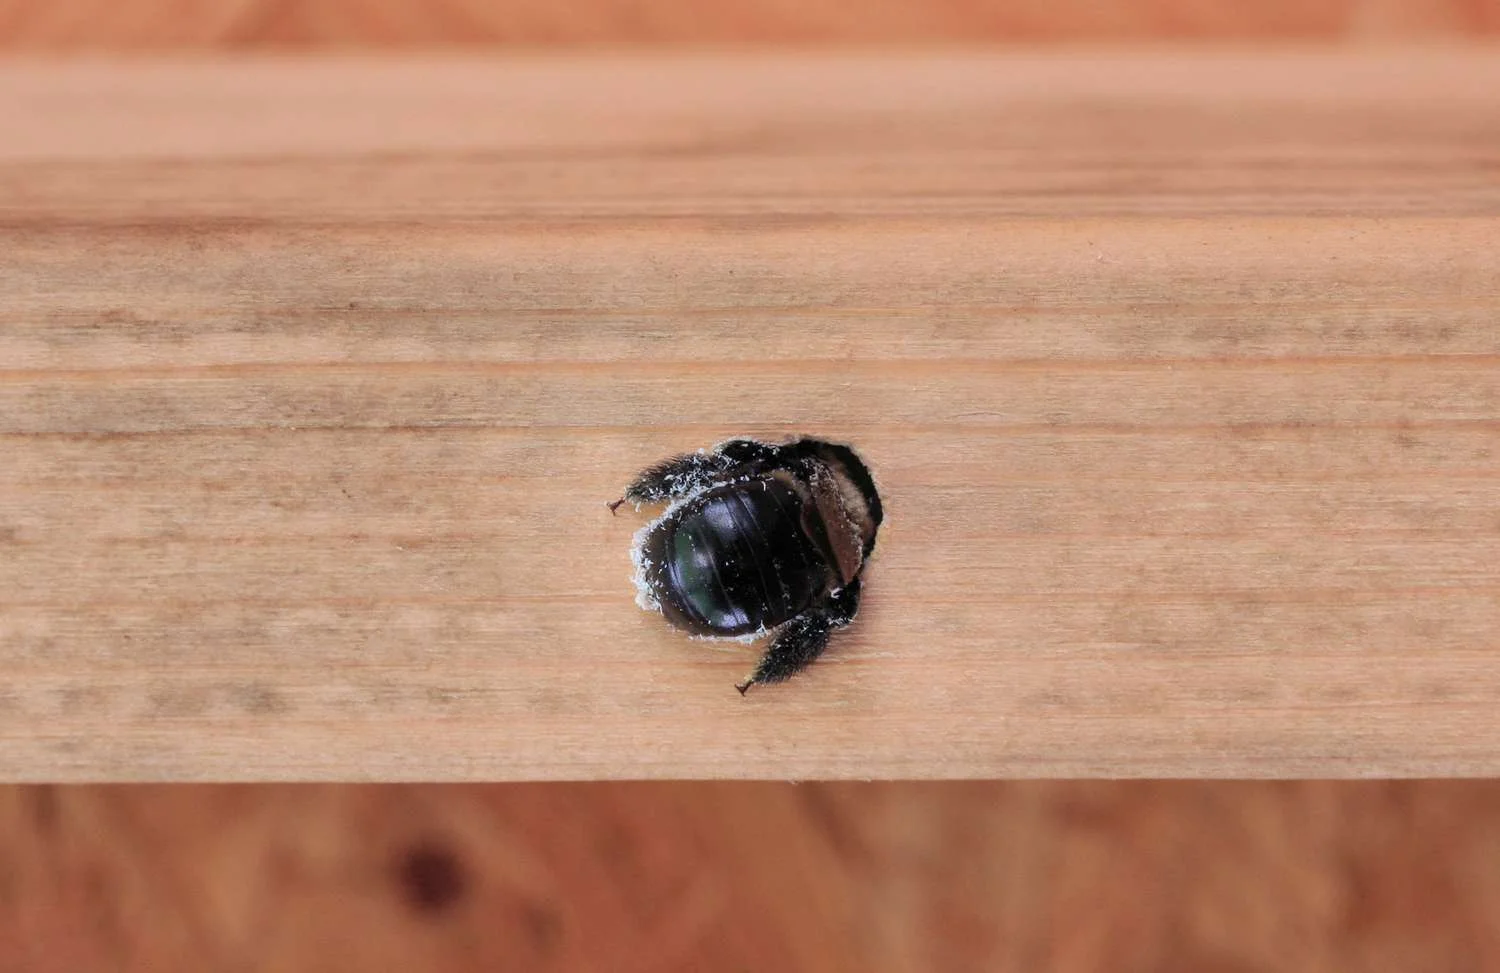
This article discusses the durability of thermally modified wood including methods of treating termite damage, wood peckers, and carpenter bees.
Micah Sutfin · August 27, 2025